Steps:
1.Get the WSDL URL
2.Build the JSF Page
3.Run the .jspx page
Get the WSDL URL:
Start your SOA Suite
Open BPEL Console using http://localhost:8888/BPELConsole
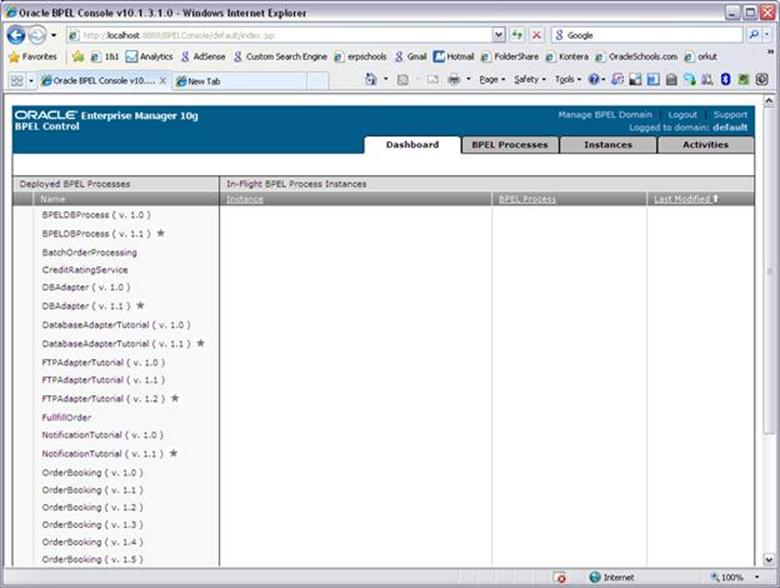
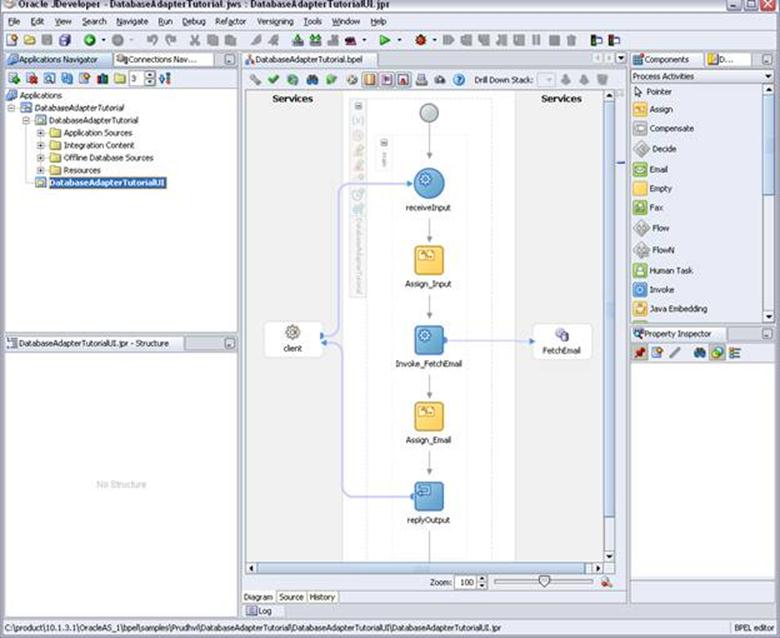
Click on the DatabaseAdapterTutorial that we developed in previous tutorial. You can download the code from here.
Click on WSDL tab
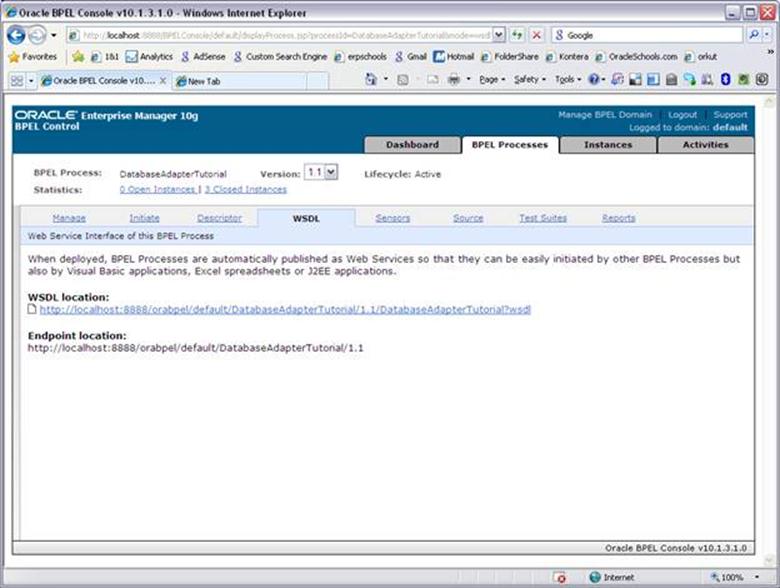
Click on the URL listed as WSDL Location

Copy the URL from the above page and save it somewhere.
http://localhost:8888/orabpel/default/DatabaseAdapterTutorial/1.1/DatabaseAdapterTutorial?wsdl

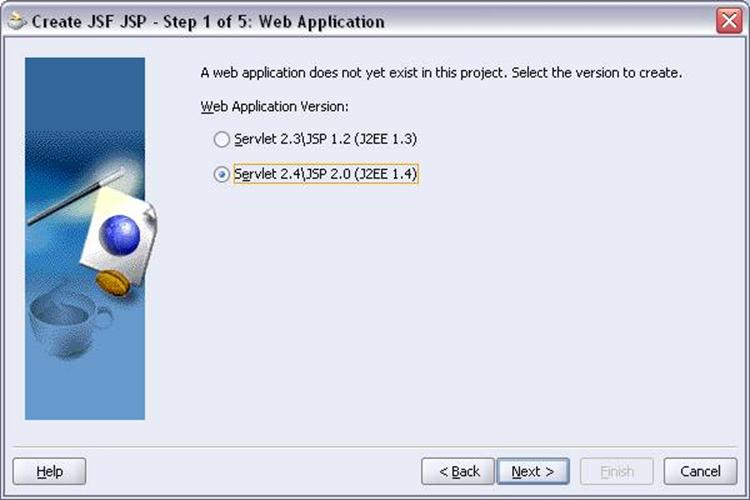
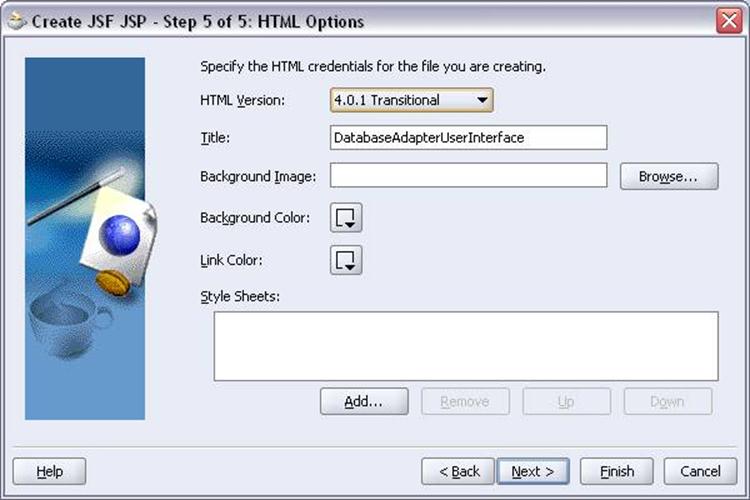
BUILD JSF Page:
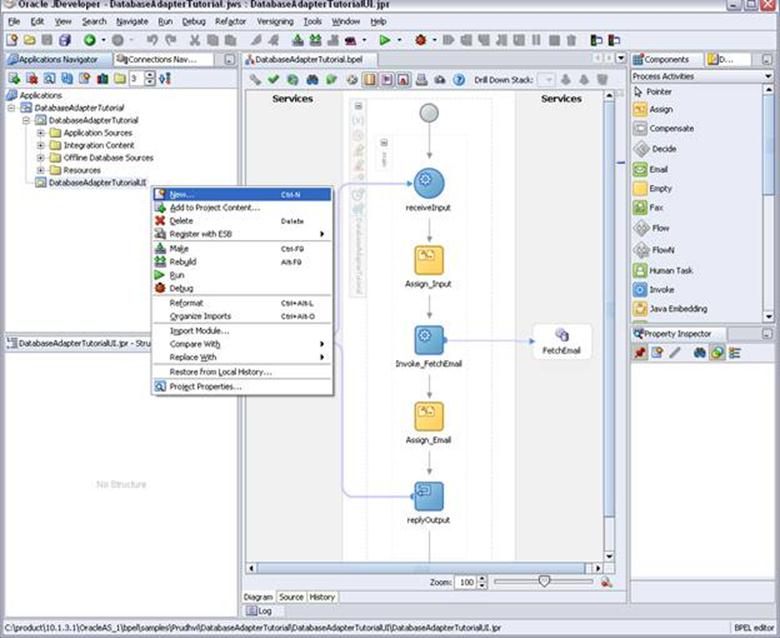
Right click on the page and select ‘New’

Select Web Services and Web Service Data control
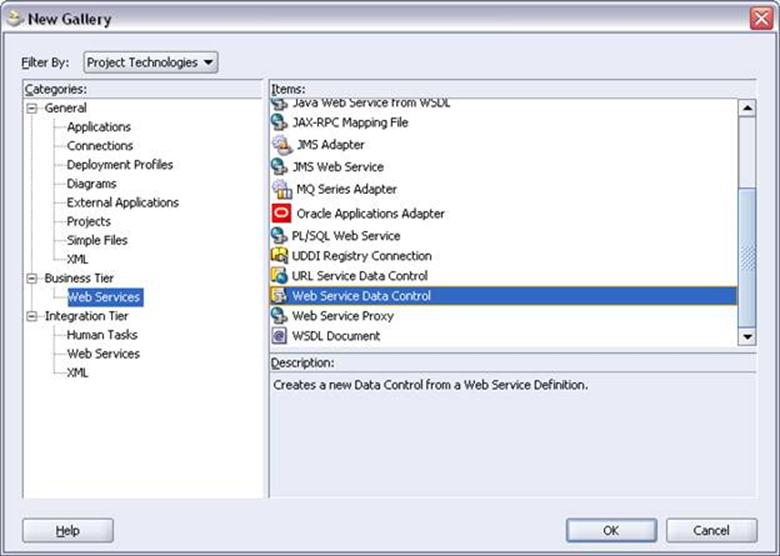
Click OK
Click Next
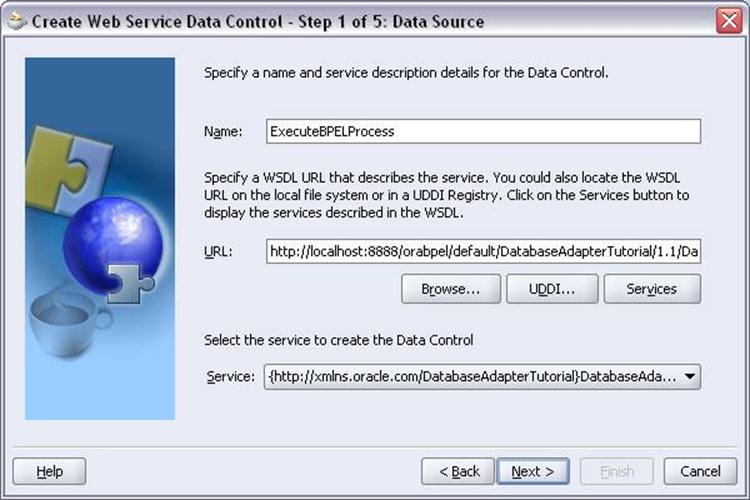
Enter the name as you wish
URL: Copy the URL that we copied to notepad in the previous step
Service: It will be populated automatically if your WSDL URL is valid
Click Next
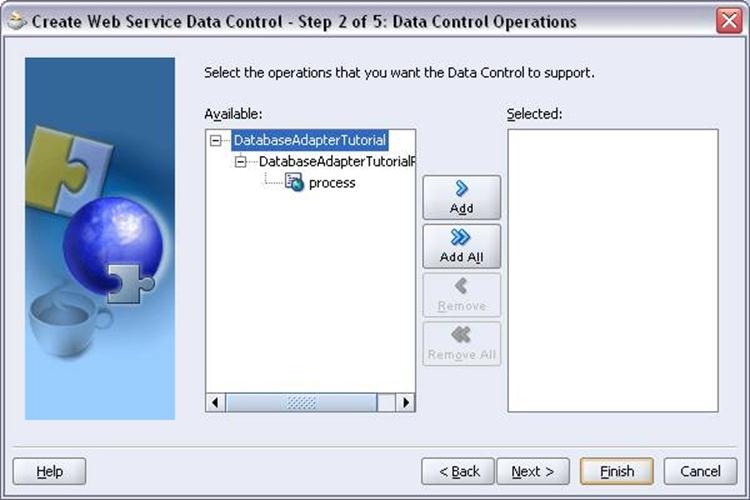
Click Add button
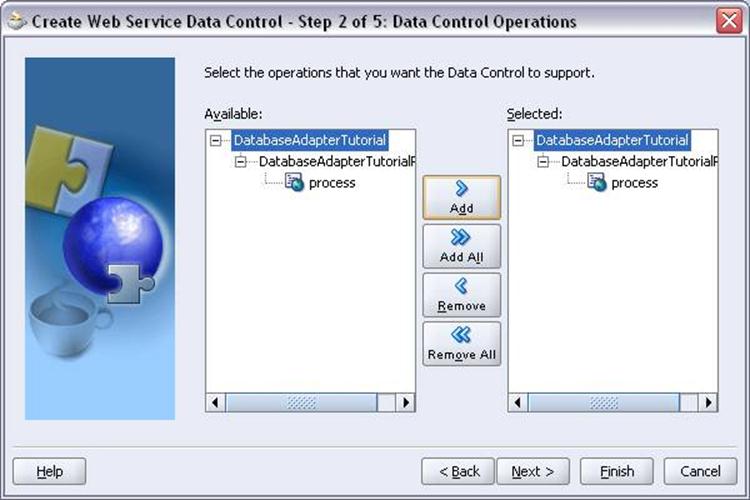
Click Next
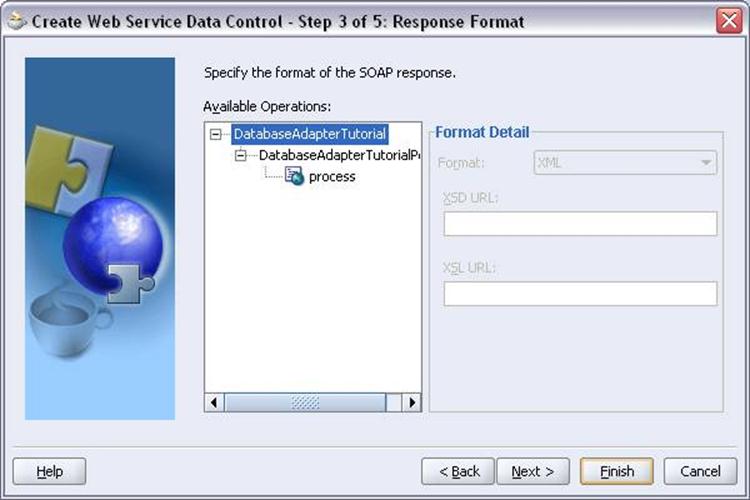
Click Finish
You will return to jDeveloper automatically
Save the project CTRL+S
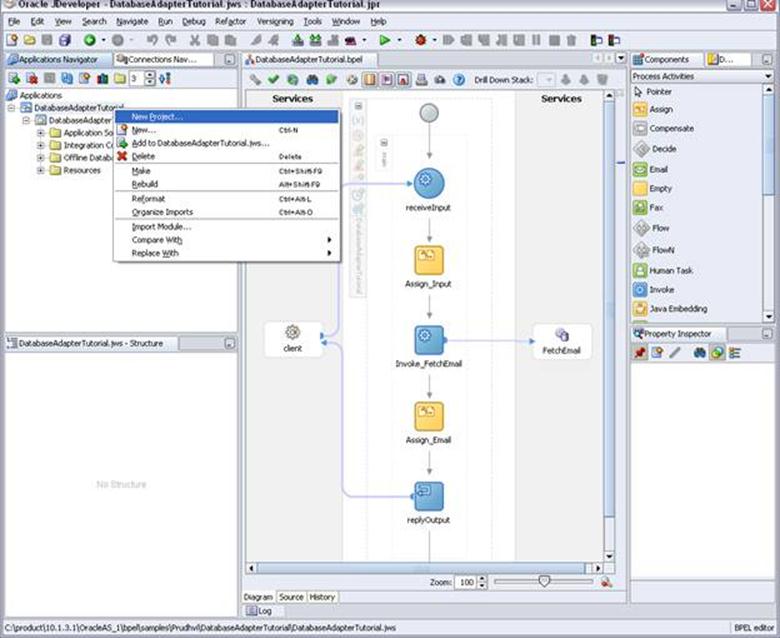
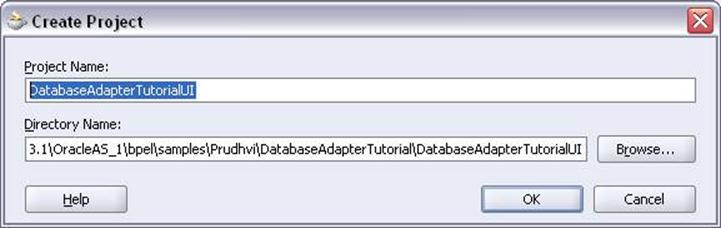
Create New Project for User Interface
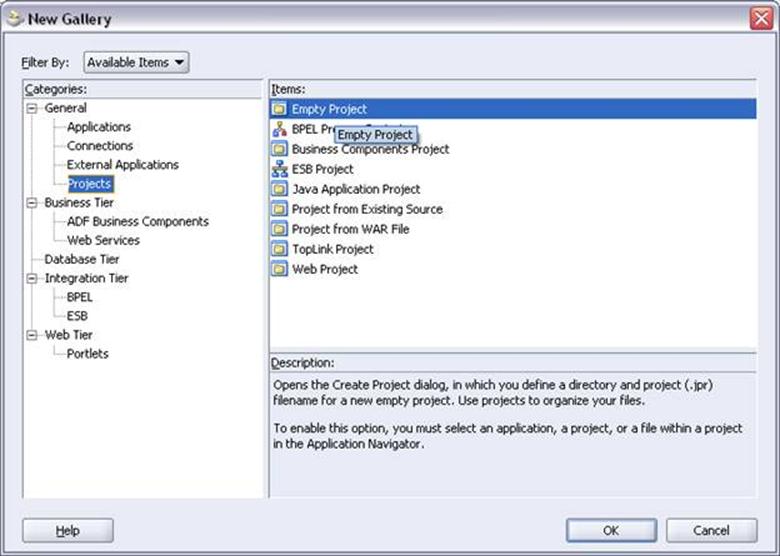
Click OK
Click OK
Right click and select New
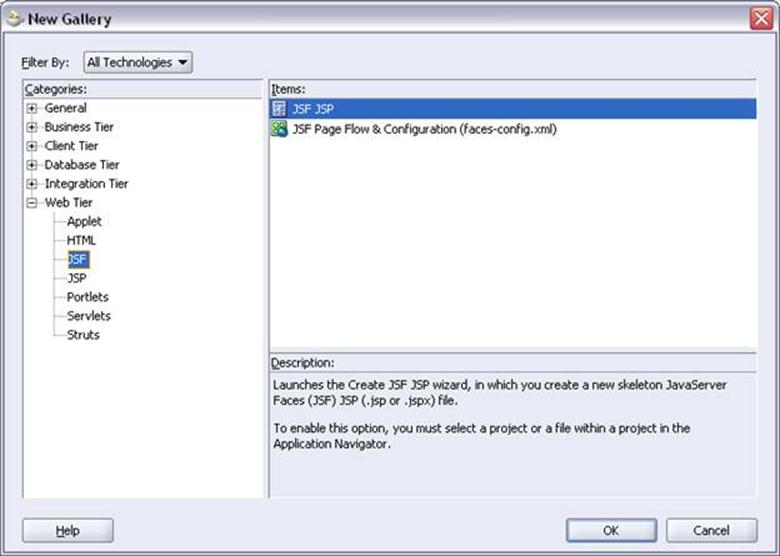
Expand Web Tier and select JSF
Select JSF JSP Item and click ok
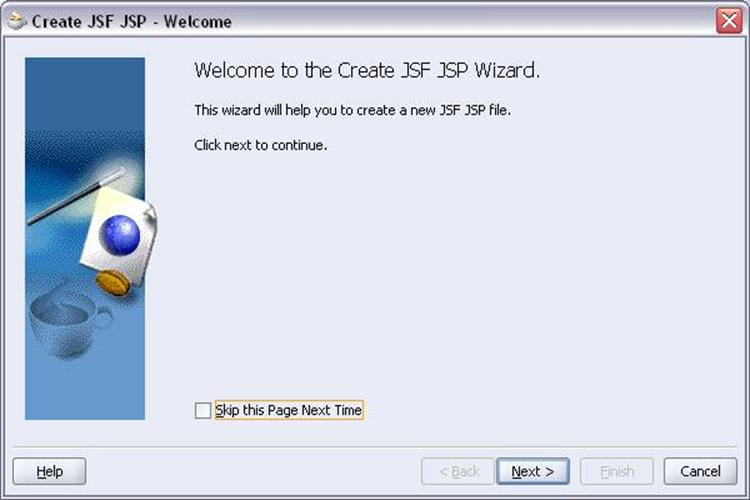
Next
Next
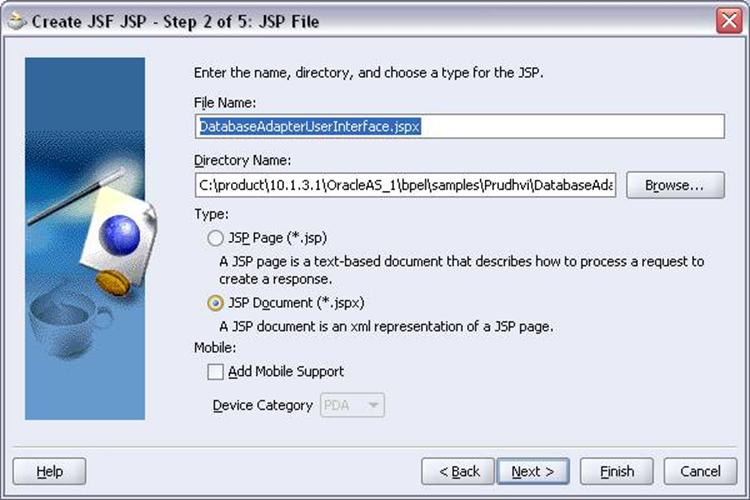
Next
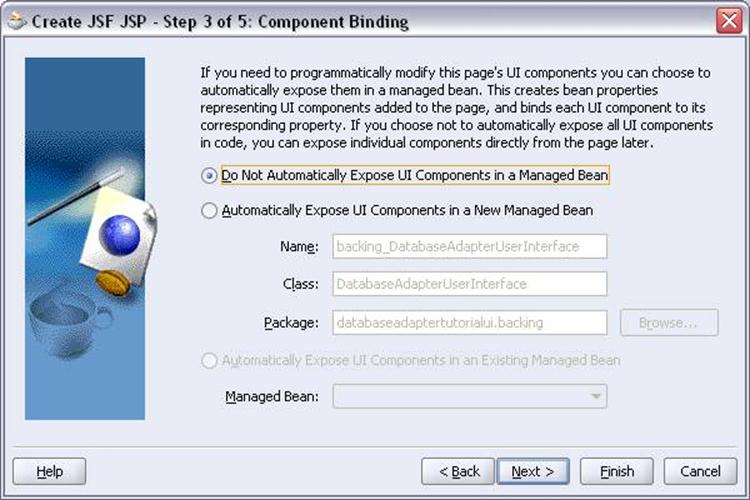
Next
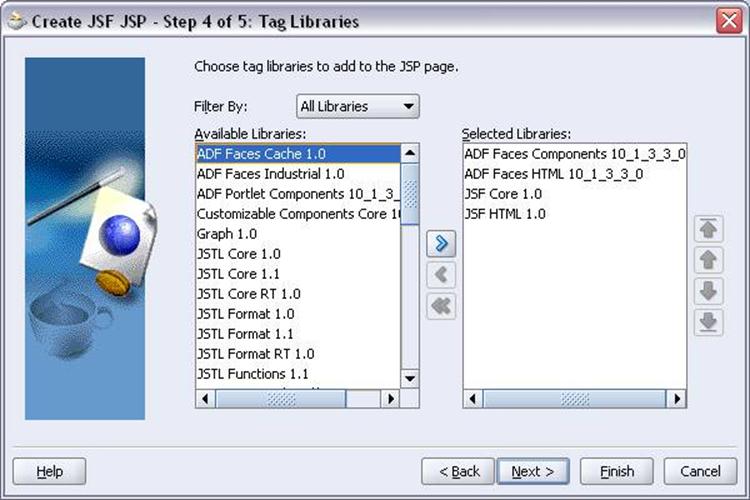
Add the libraries as shown above and click Next
Next
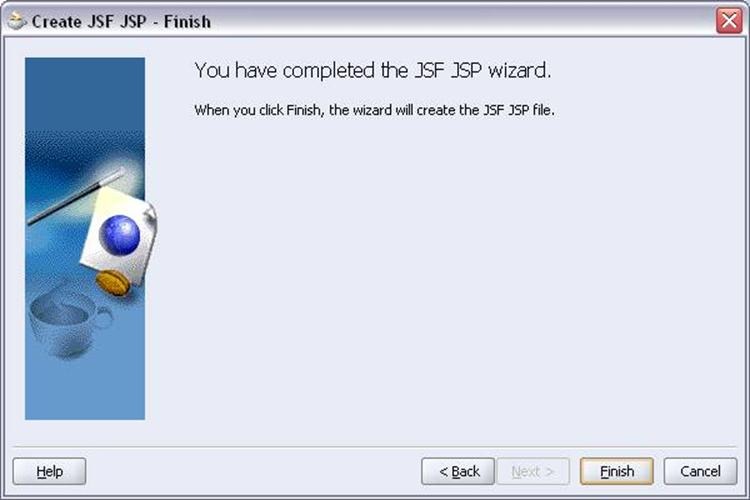
Finish
You will return to jDeveloper and DatabaseAdapterUserInterface.jspx page will be opened automatically
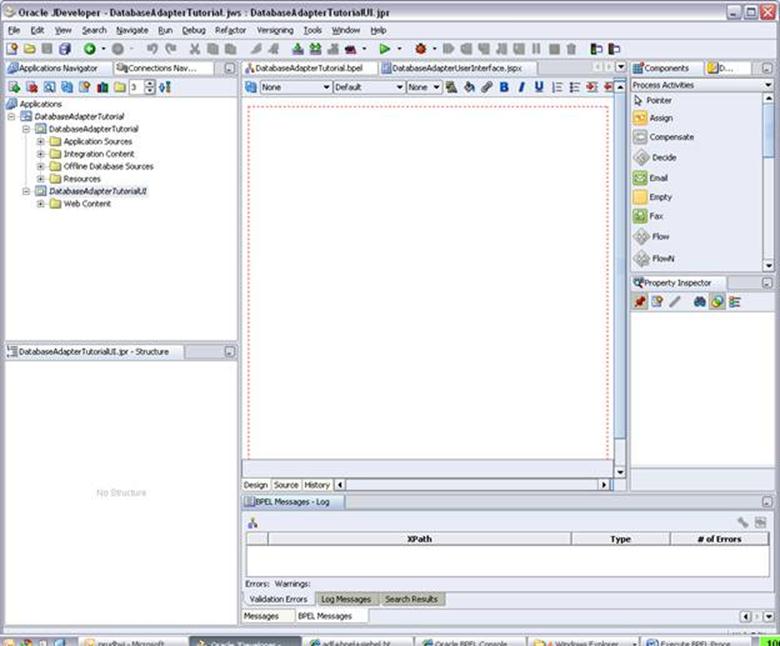
Save project CTRL + S
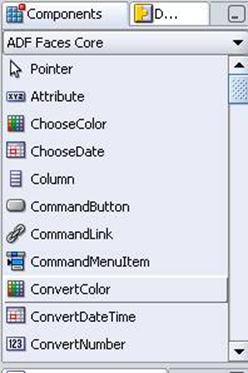
From the component Palette select ADF Faces Core
Drag and drop Panel Page component to the opened .jspx page
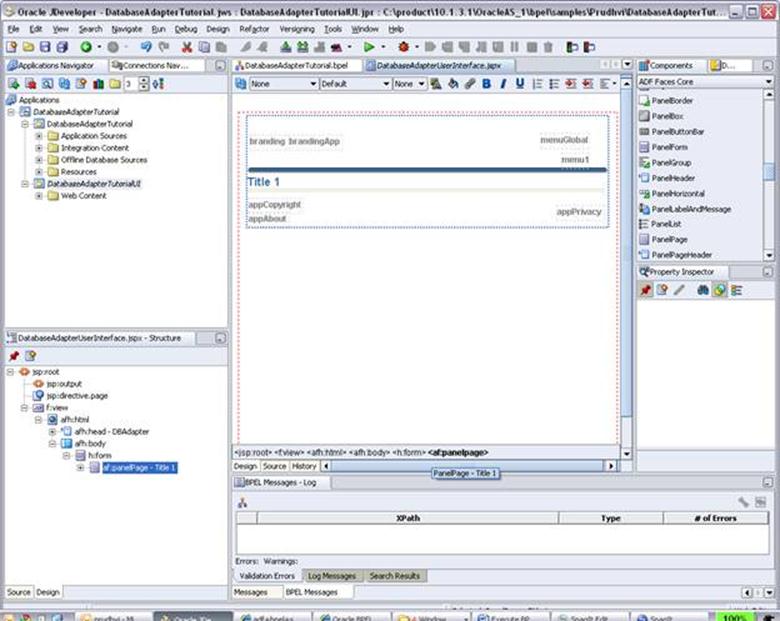
Click on Title 1 and change the Title in the property inspector

Click Tab and Enter to see the changes in jDeveloper
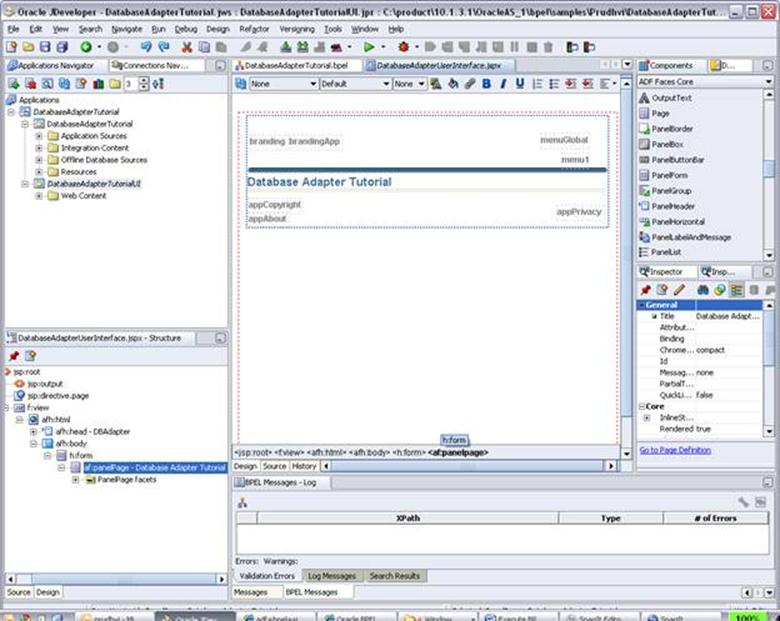
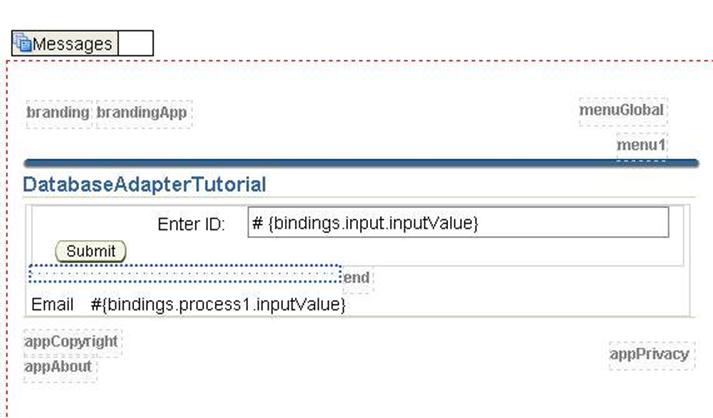
Drag Panel Border component below the line under Database Adapter Tutorial title
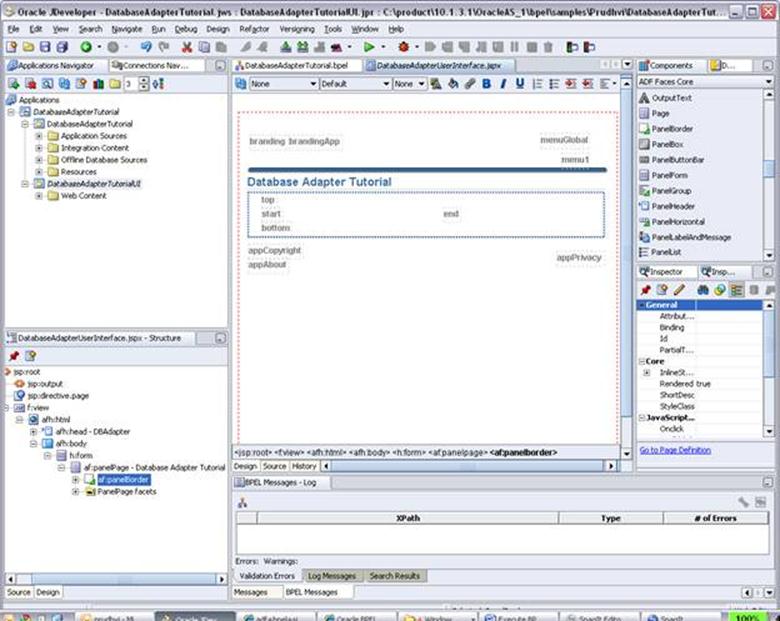
The page should look like below screen
Select Data control Palette side by the Component palette
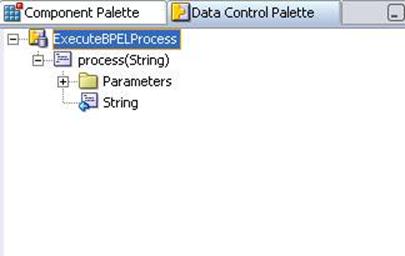
Select the ExecuteBPELProcess and expand it
Drag and drop Process(String) on to the top link
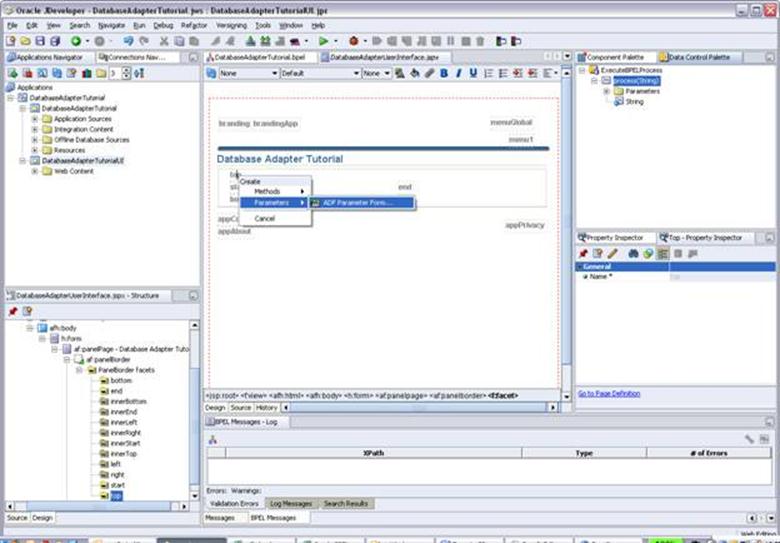
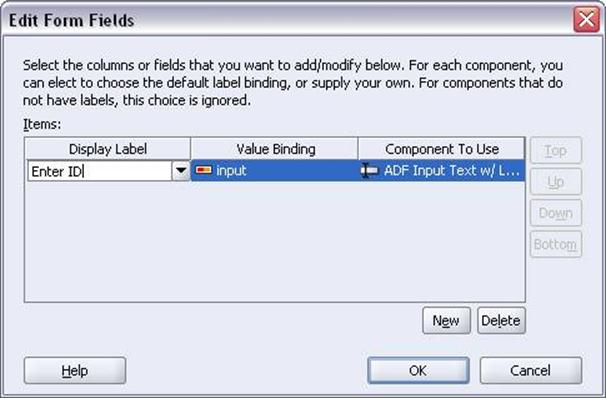
Change the display label to ‘Enter ID’ and click OK
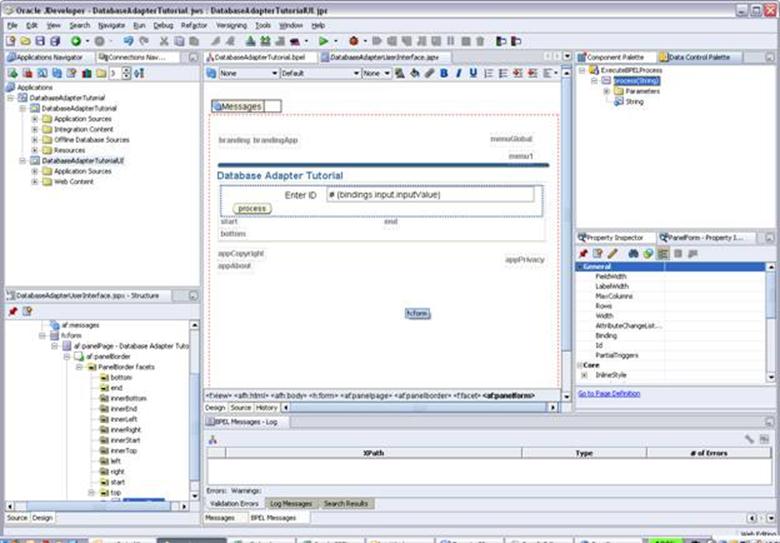
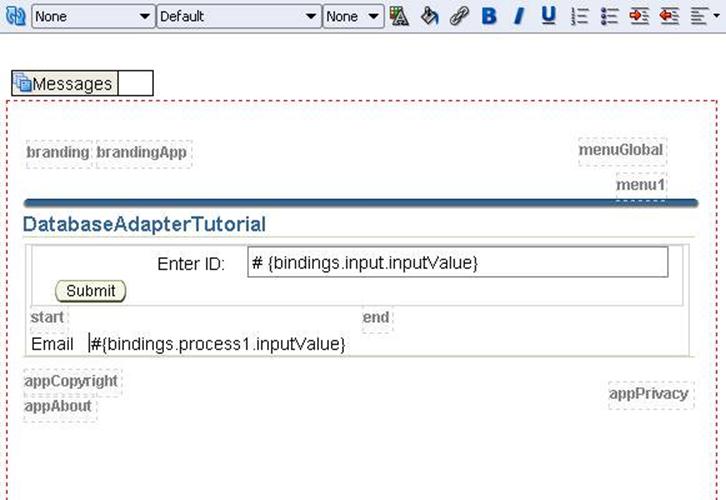
The page will look like below screen
In Data Component Palette expand Parameters and
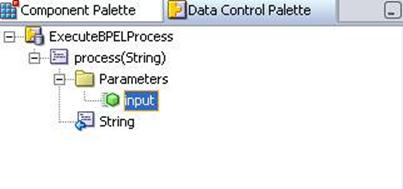
Drag and drop the String to the bottom
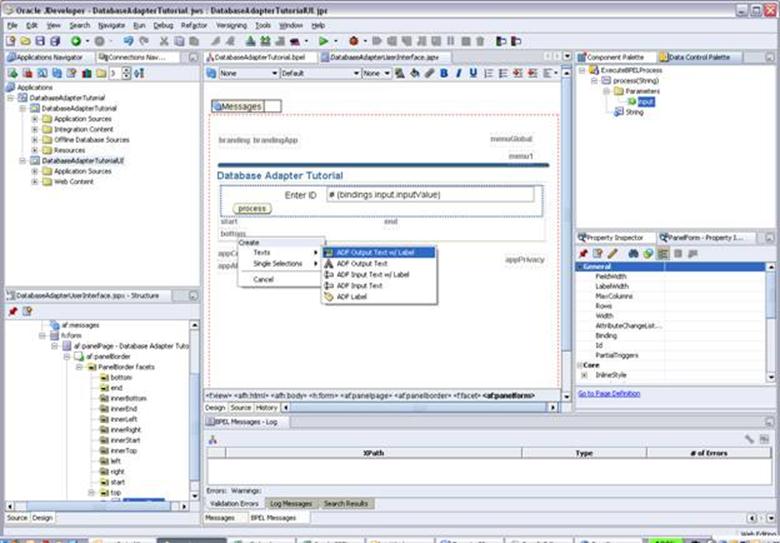
Select ADF Output Text with Label
Change the Text to Email
Jdeveloper Middle portion will look like this
Save project CTRL + S
Drag Object Separator component on to Start link
Save project
Run the JSF Page
Right click on the page in jedeveloper and click Run
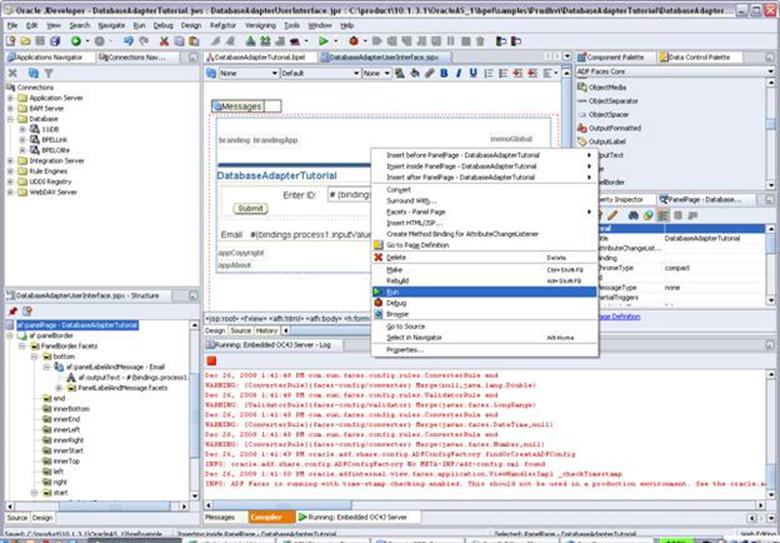
.jspx page will open up in your default browser
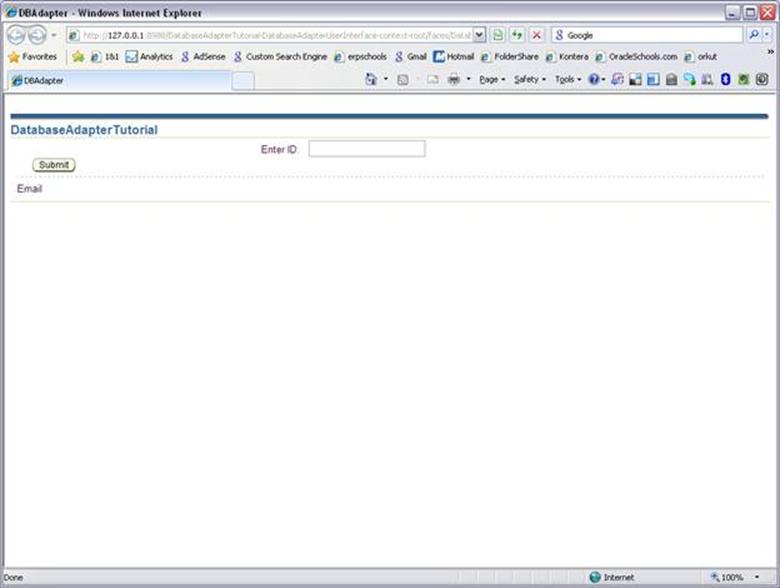
Enter the ID and click Submit
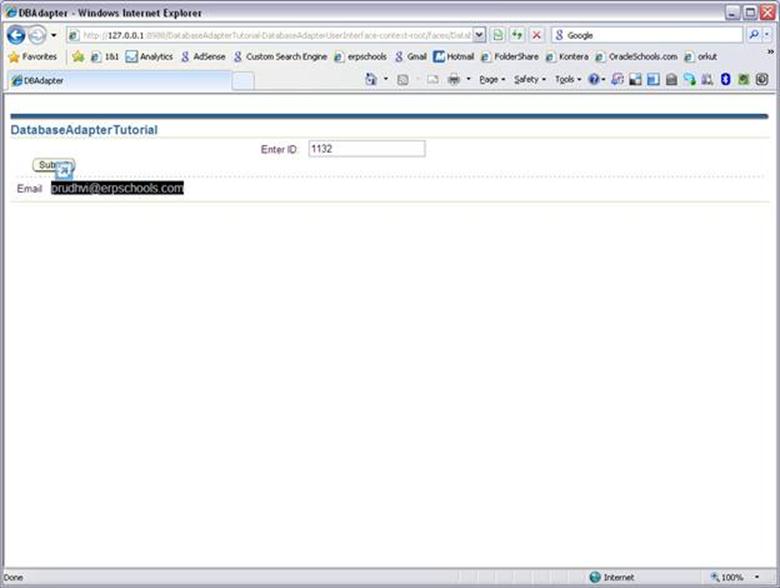
You will see the corresponding email of the ID