After reading this article you will be able to understand the following things:
- What is SOA?
- What is BPEL?
- Difference between SOA and BPEL
- Advantages of SOA/BPEL
- Download SOA Suite
- “Hello World/ErpSchools” Tutorial in BPEL
- Compile and deploy BPEL Suitcase using bplec.bat
-
Monitor the activities/instances/statuses in Dashboard
What is SOA?
SOA stands for “Service Oriented Architecture”. SOA is an architectural approach using technology to present business processes as reusable services. SOA is focused on the business and enables process transformation to new levels of integration, visualization, monitoring, and optimization.SOA is not a technology, it is a concept and a strategy for using technologies to build business automation solutions. SOA can be achieved through web services like BPEL.
What is BPEL?
BPEL stands for “Business Process Engineering Language”. BPEL is a technology used to build programs in SOA architecture.
Difference between SOA and BPEL
SOA is an architecture and not a technology. BPEL is a technology to build SOA architectural programs.
Advantages of SOA architecture and BPEL technology
- Being SOA an architectural concept rather than a technology it is concentrated on business rather than development or coding.
- Using SOA architecture and BPEL technology you can integrate multiple legacy systems through reusable services/objects.
- BPEL provides handshaking which means you can track what is happening to your input. If it is successfully processed or not.
- You Can create alerts to notify about errors in processing or critical conditions.
Download SOA Suite
Click here to download the BPEL Suite
“Hello World/ErpSchools” Tutorial in BPEL
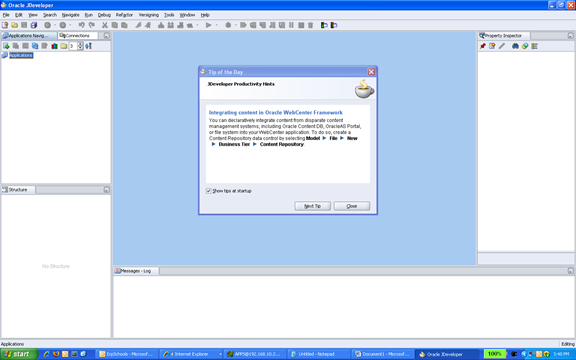
Click “close” to close the tip
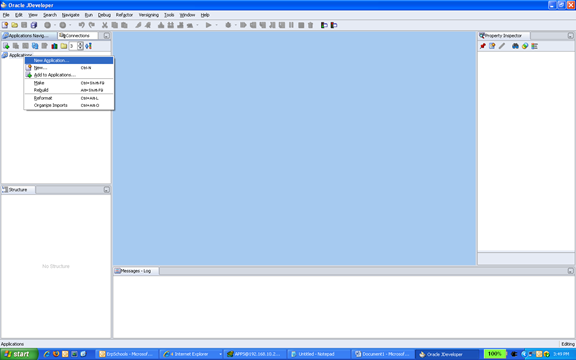
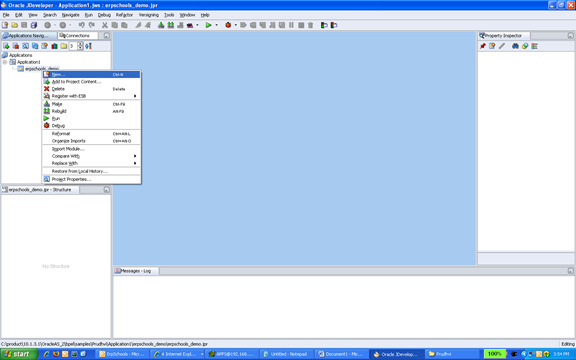
Right click on the Application and select “New Application”
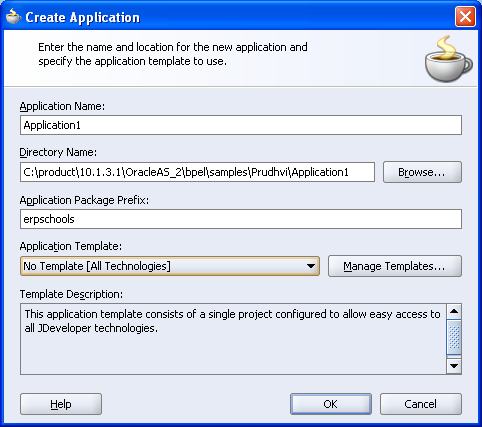
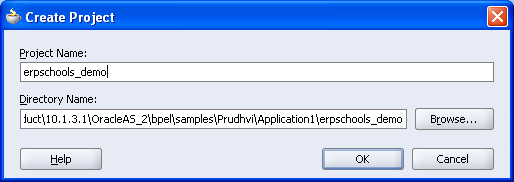
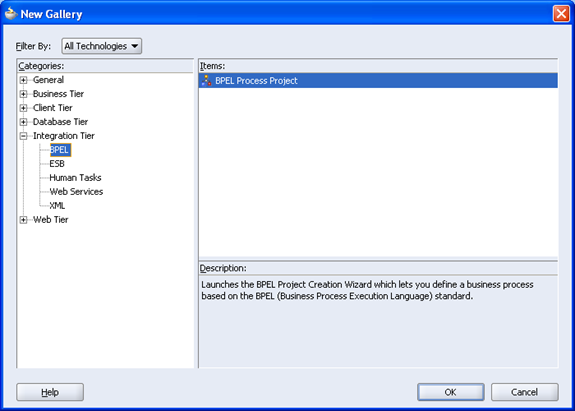
Select “Integration Tier” and then “BPEL” in the categories and then in Items select “BPEL Process Project”
Click OK. Now “BPEL Project Creation Wizard” will open as shown below
Enter the name: erpschools_process
Name Space: Leave it as default
Template: Synchronous BPEL Process
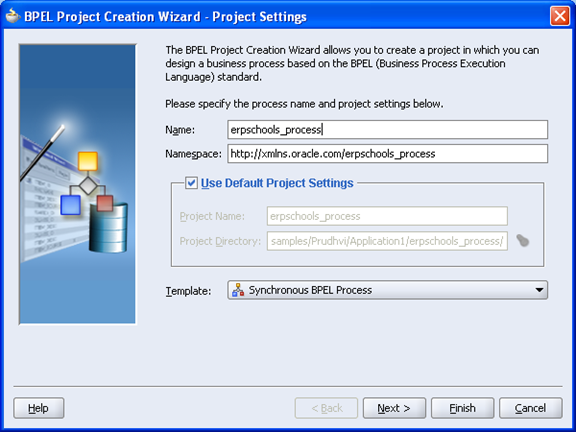
Click Next
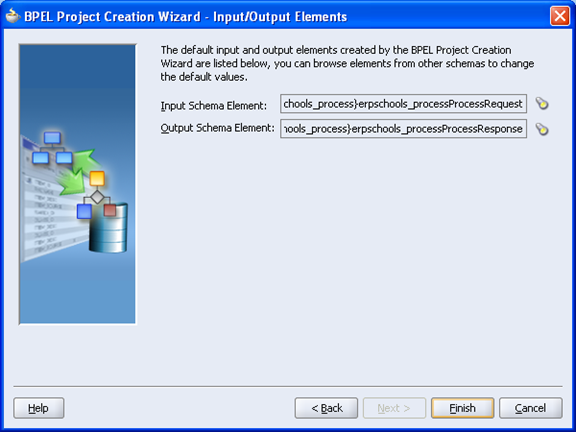
Leave the default values and click Finish
Now you will see a screen like this
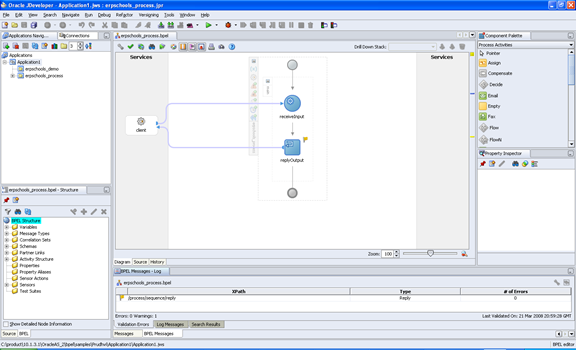
Now on the right side tab you can see the “Assign” icon in the component pallet
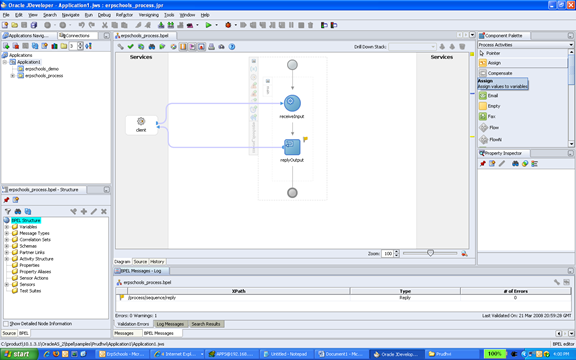
Select it and drag into the diagram. When you drag you will see green circles representing where you can drop the Assign component. I will drop between “Receive Input” and “Reply output” as shown below
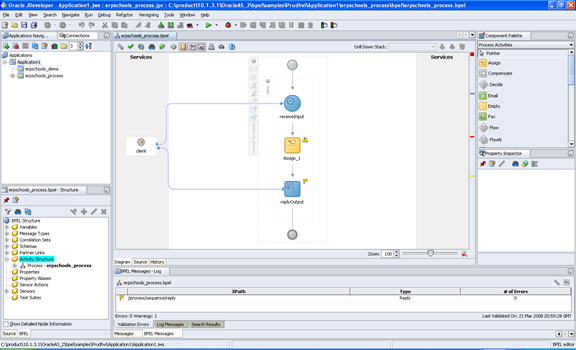
Double click on the “Assign_1” icon in the diagram
You will see the below screen
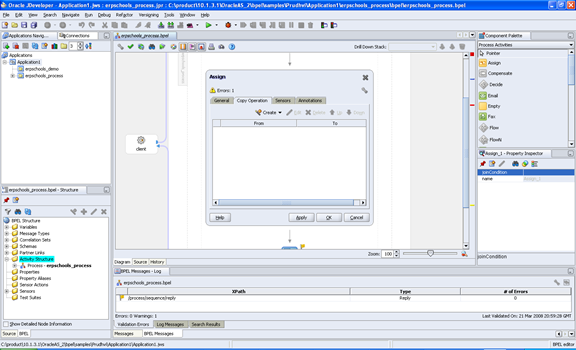
In “General” tab you can change the Name or you can leave the default
Next Click on “Copy Operation”
And select “Create” drop down as show below
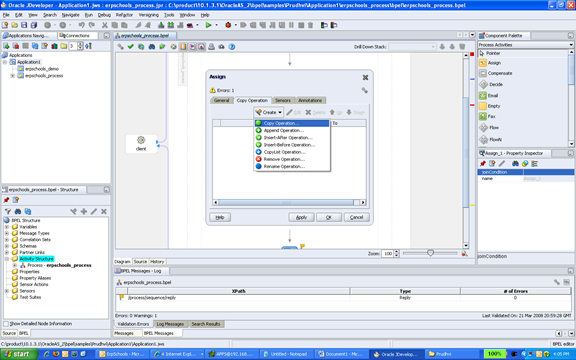
Now you will see “Create Copy Operation” box with From and To tabs
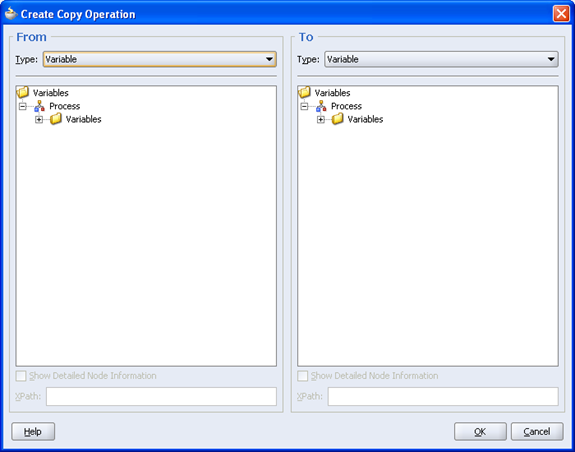
By default both from and to types are defaulted to “Variable”
Now in the From “Type” box select the “Expression”
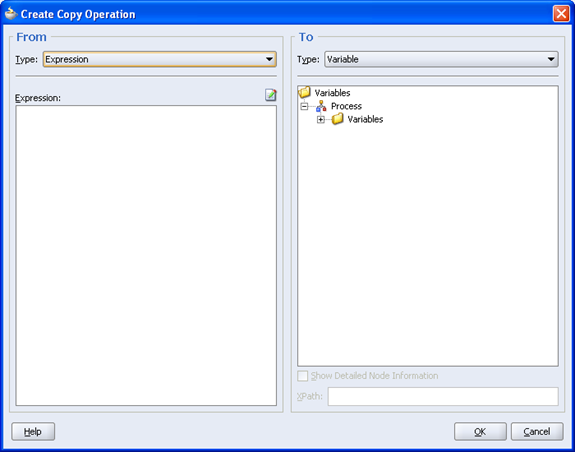
Now click on the “XPath Expression Builder” icon
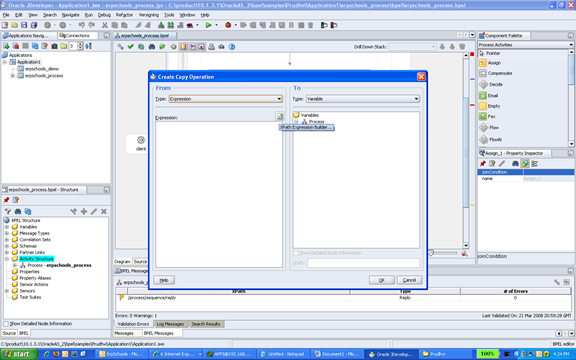
Expression Builder screen will pop up as shown
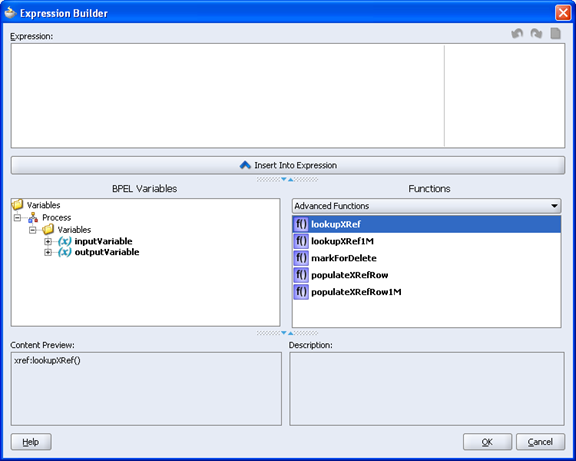
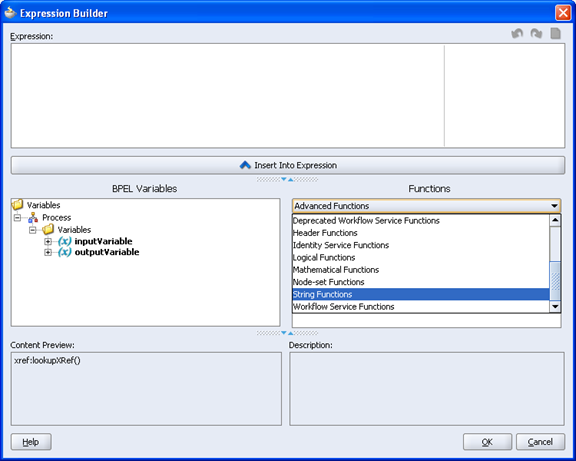
Now in the right side tab in “Advanced Functions” select “String Functions” as shown below
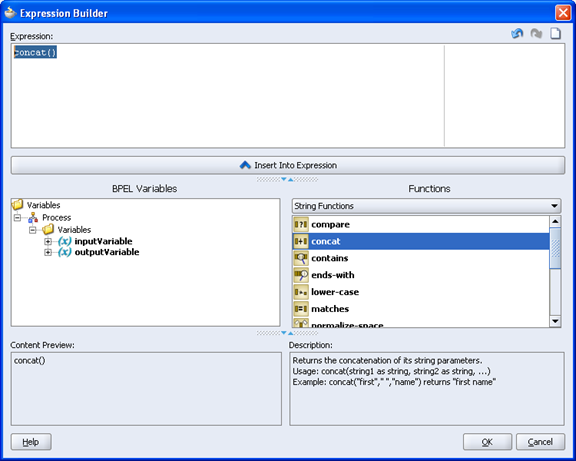
Now double click on “Concat” and it should copy the concat function to expression tab on the top as shown
Now manually enter the parameters for that concat() function as shown
Enter the welcome message as shown and place the cursor immediately after the comma
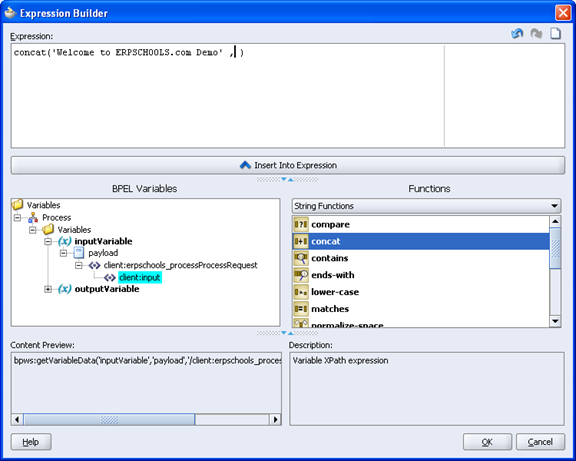
In the BPEL Variables select the Clinet:Input variable and double click it. It will automatically insert the path on the top
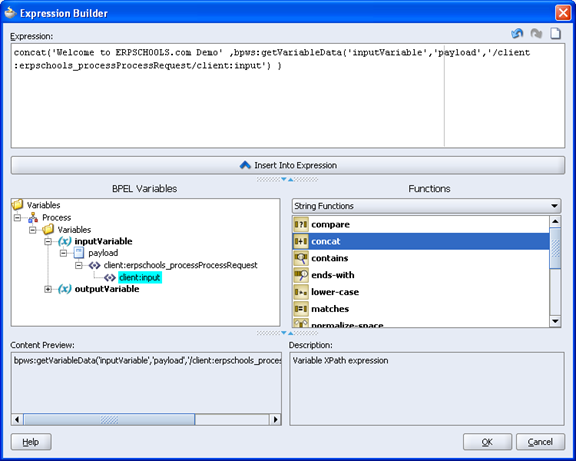
Click OK.
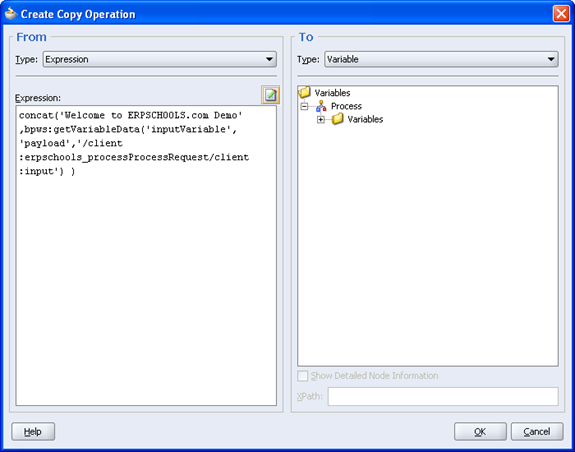
We are done with from expression now
In the right side tab select the output variable as show below
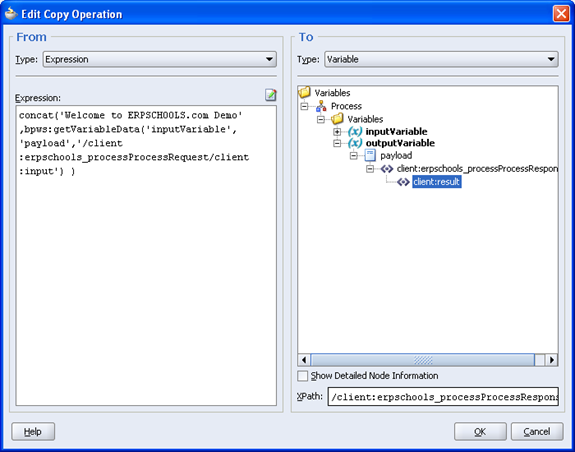
To see the detailed information for that input variable select “Show Detailed Node Information” check box in the bottom
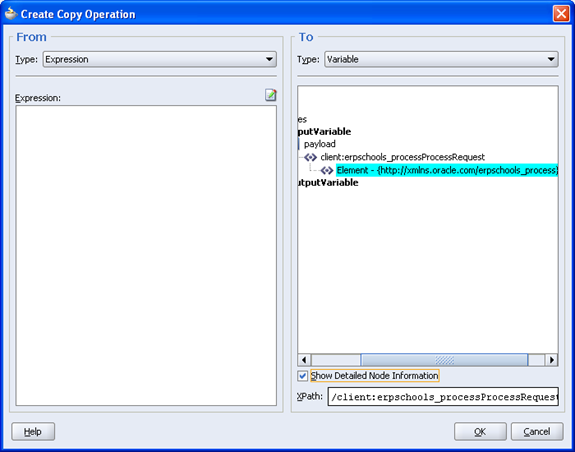
Now click OK
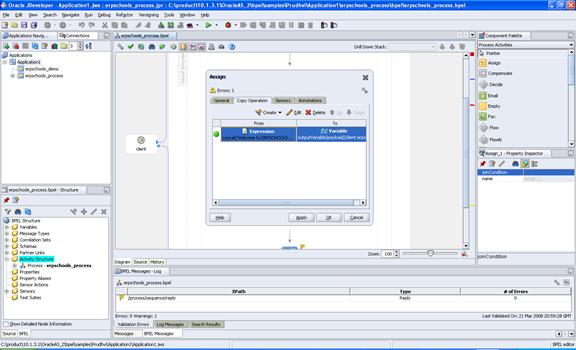
Click Apply and then OK
Now coding part is done. We have to deploy this process.
Prepare to deploy the process.
Start the SOA Suite
Programs >> BPEL >> Start SOA Suite
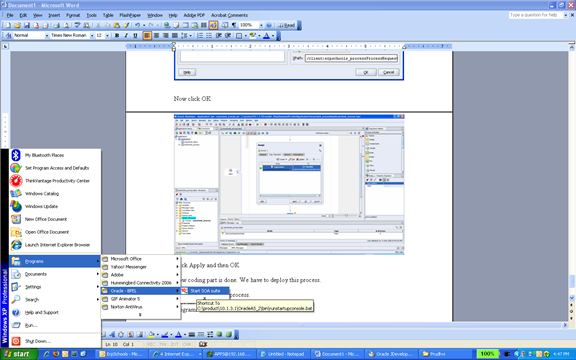
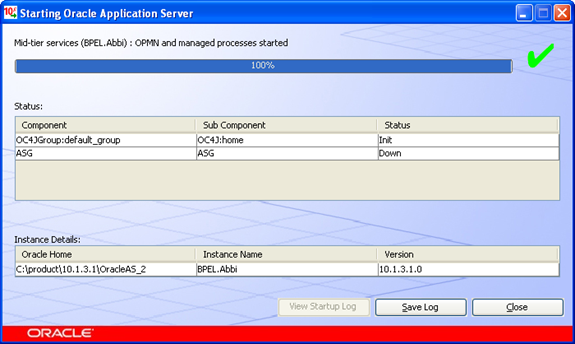
Once it is started you will see a screen like this
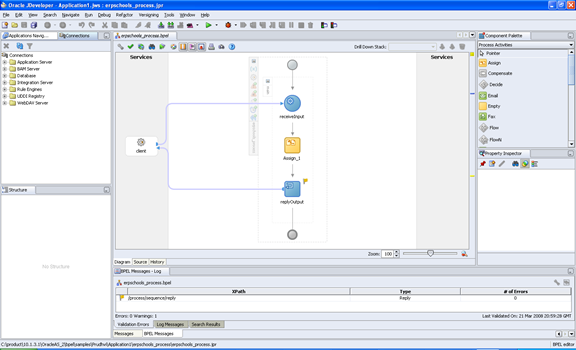
Now go back to JDeveloper
In the left panel you can see the “Connections Navigator” click on that
Now select “Application Server” and right click to select “New Application Server Connection”
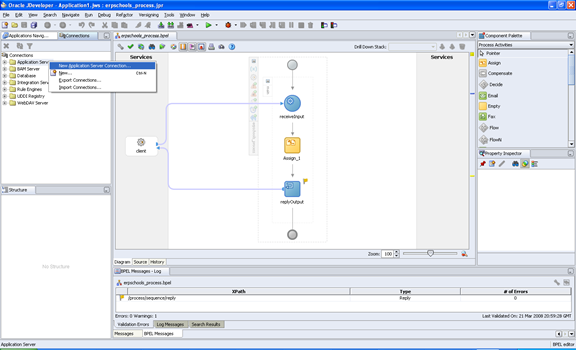
You get to see the below screen
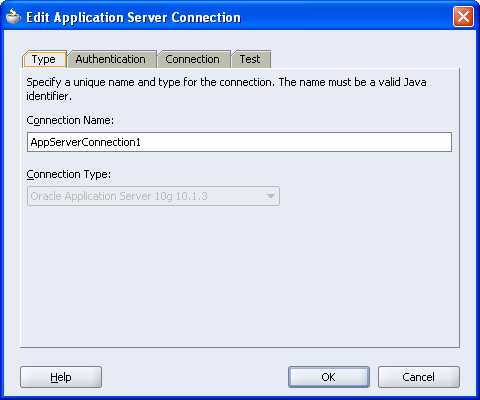
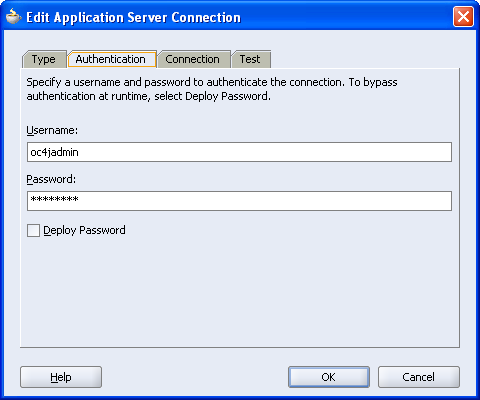
Leave the Connection Name as it is and click “Authentication” tab and
Enter the username/password
By default it is oc4jadmin/welcome1
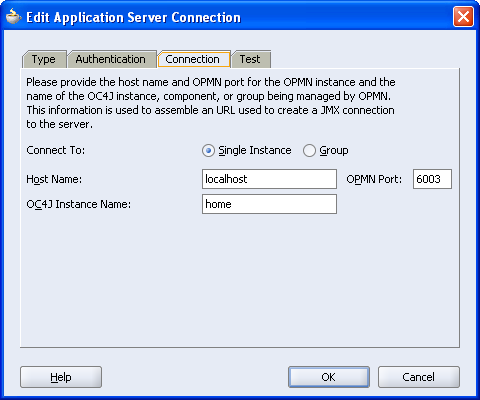
Go to next tab “Connection” and enter as follows.
Now go to Test tab and click “Test Connection”. If you get “Success” message you are good to move forward if not go back and check the ports and hostname e.t.c
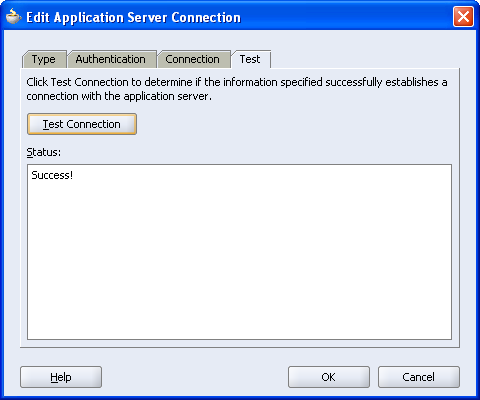
Click OK
If you expand the “application Server” in the left panel you will see the directory structure as follows
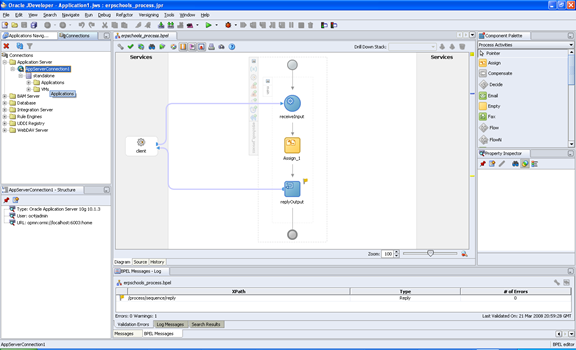
Integration Server Connection
Now right click on “Integration Server” folder as shown and select “New Integration Server Connection”
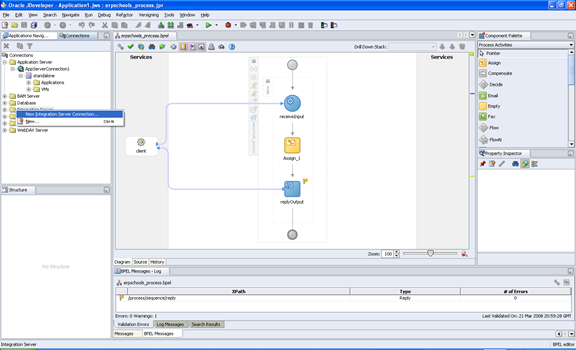
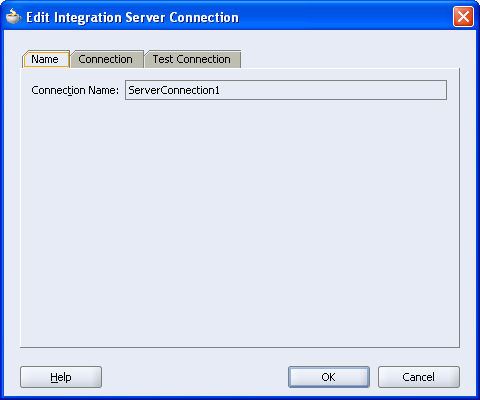
You can leave the Connection Name as it is and click on next tab “Connection”
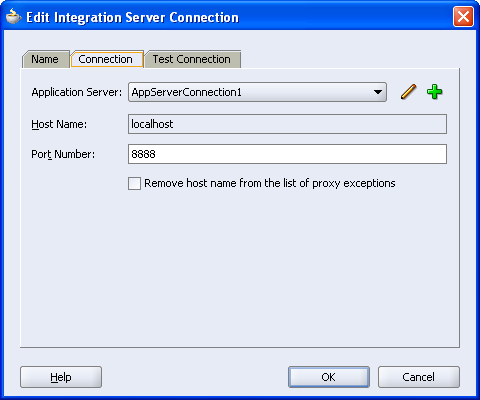
Now select the Application Server that we created in the previous step.
Click on “Test Connection” tab
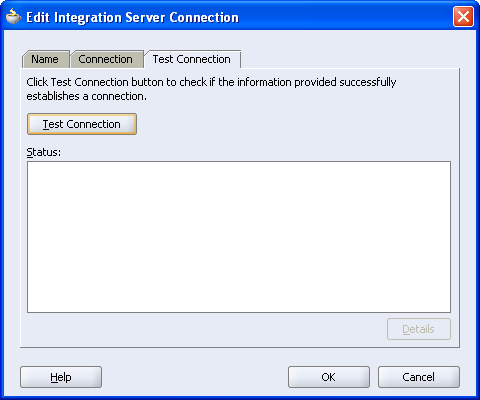
Click “Test Connection” button
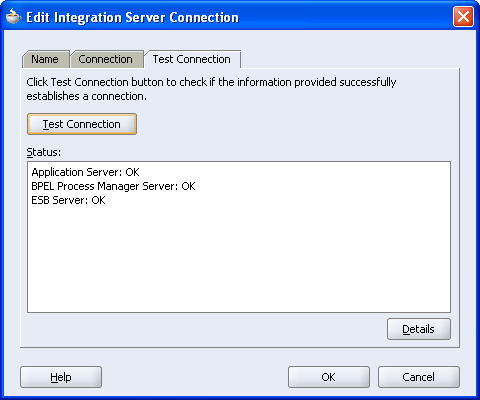
Now you should see the below text
Application Server: OK
BPEL Process Manager Server: OK
ESB Server: OK
If all the three servers are OK you are good to deploy the process.
If you expand the Integration Server folder you will see the directory structure as show below
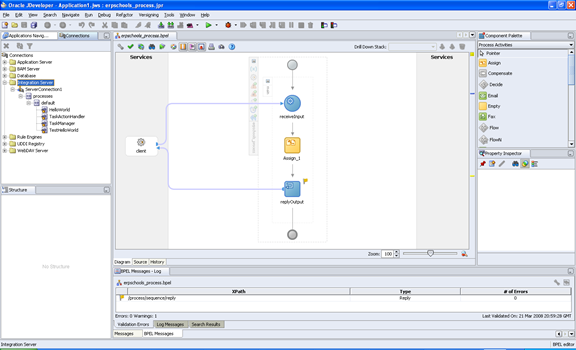
Now preparation to deploy the process is done.
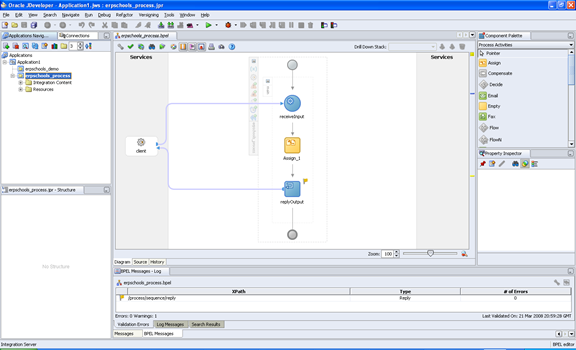
Go back to Applications Navigator in the Left Panel
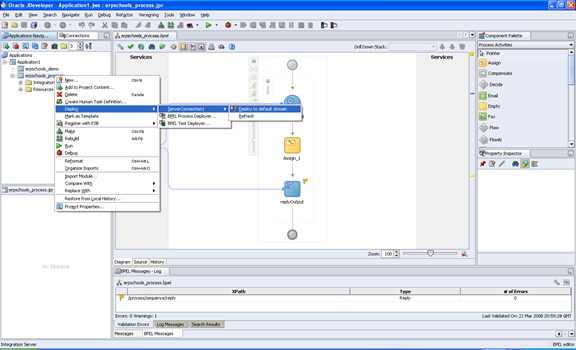
Select the process , right click , select deploy , Server Connections >> Connection that you created previously
You get a message in the bottom of the screen saying success or fail. If success everything is good if not you can deploy through another method.
It can fail for many reasons it depends on your browser settings, windows settings, ports, permissions e.t.c
Deploy and create BPEL Suitcase
Go to Developer Prompt
Click Programs >> BPEL >> Oracle BPEL Process Manager >> Developer Prompt
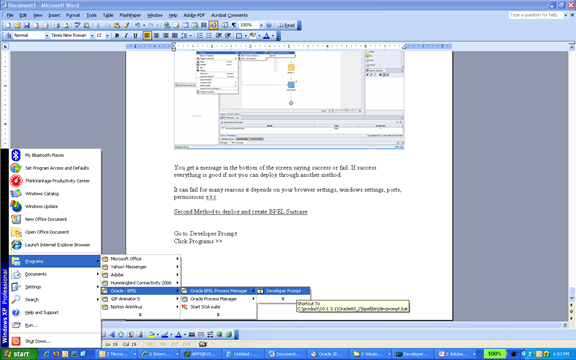
It will open a command prompt and will take you to “samples” directory
Cd ..
Cd bin
Now type
Bpelc.bat “path of your bpel.xml file in your application folder”
In the first step while creating the new application we have the path “C:product10.1.3.1OracleAS_2bpelsamplesPrudhviApplication1”
So navigate to that folder and then click the process folder here it will be erpschools_process and then to bpel directory
Final path will be
“C:product10.1.3.1OracleAS_2bpelsamplesPrudhviApplication1erpschools_processbpelbpel.xml”
Execute the below command in the developer prompt(in cmd prompt)
Bpel.bat C:product10.1.3.1OracleAS_2bpelsamplesPrudhviApplication1erpschools_processbpelbpel.xml
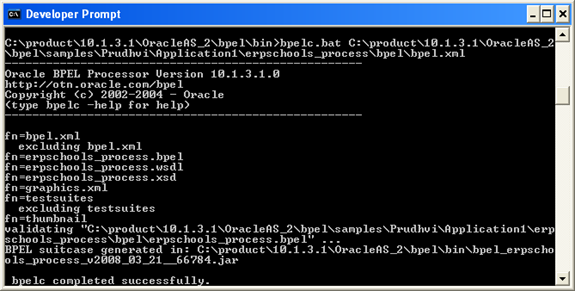
You should see the successful message as shown above.
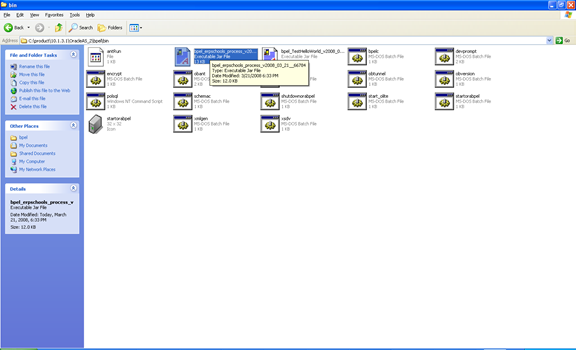
It will also tell you where the BPEL Suitcase is created and the name of the suitcase file. Usually the name suitcase will be appended with date and its extension is .jar
After you create the BPEL Suitcase you have to manually deploy it.
In the browser type the below url
http://localhost:8888/BPELAdmin
Default username and password will be
username: oc4jadmin
password: welcome1
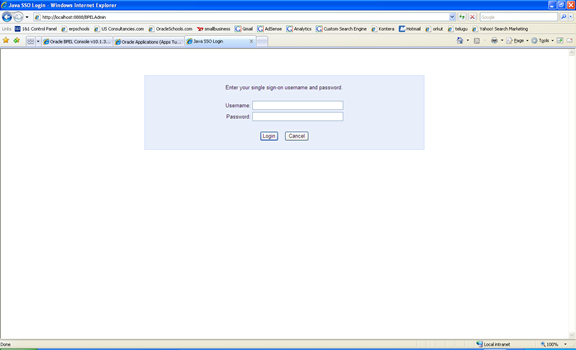
Once you login you will see the below screen
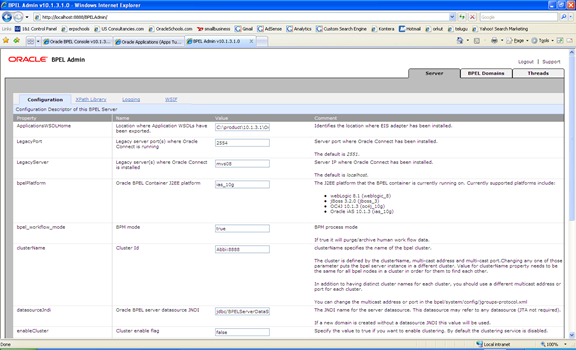
Click on “BPEL Domains” tab on the top
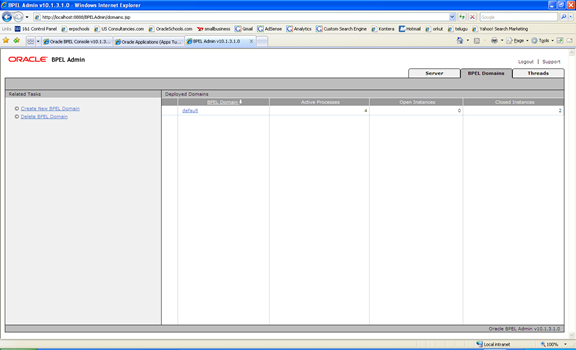
Now click on “default” BPEL Domain
It will open a new window as shown below
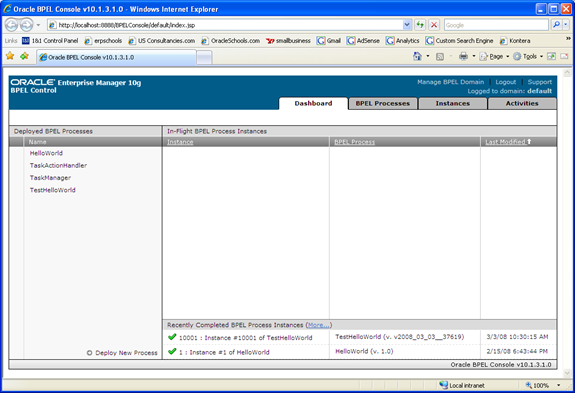
In the Left panel you can see all the BPEL processes you have deployed till now.
To deploy our new process click on “BPEL Processes” tab on the top
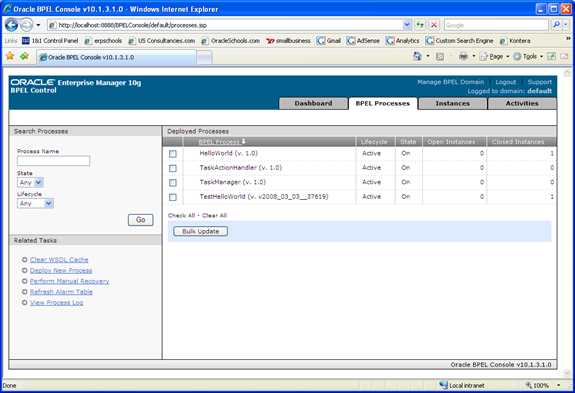
Click on “Deploy New Process” in Related Tasks
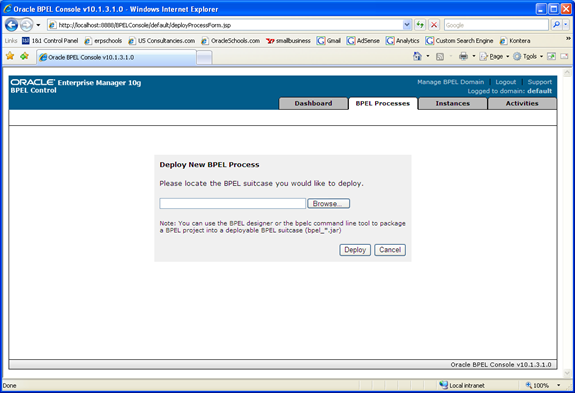
Click Browse and select the BPEL Suitcase that we created using bplec.bat previously
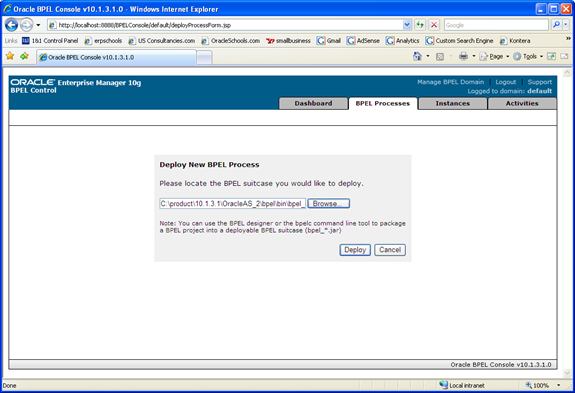
Now click “Deploy” button.
If you get a successful message as shown below your BPEL process is deployed successfully.
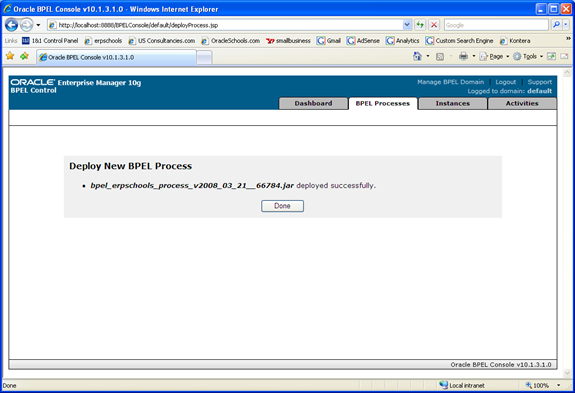
Click Done.
Monitor BPEL Process
Now I can see my BPEL process which is erpschools_process in the BPEL Processes list
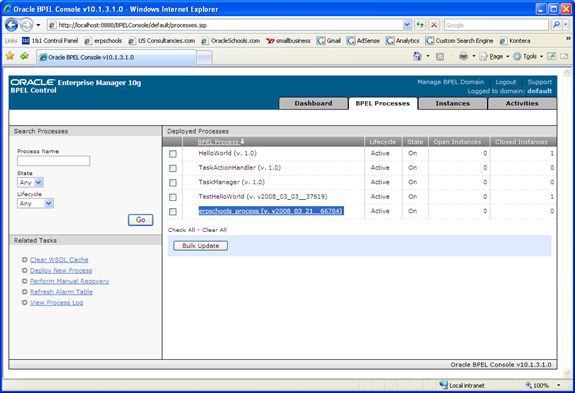
Now test your process.
Go back to “Dashboard” tab on the top
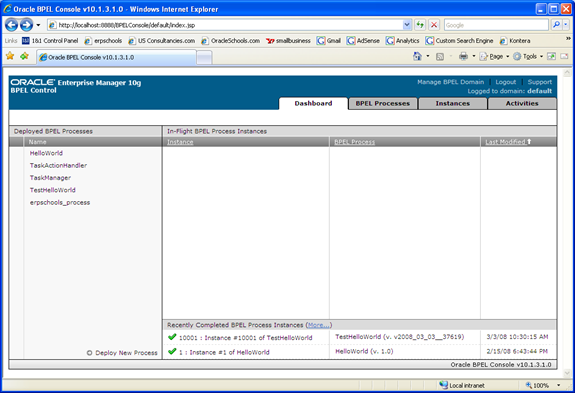
The last process “erpschools_process” is the process that we deployed just now. Click on it
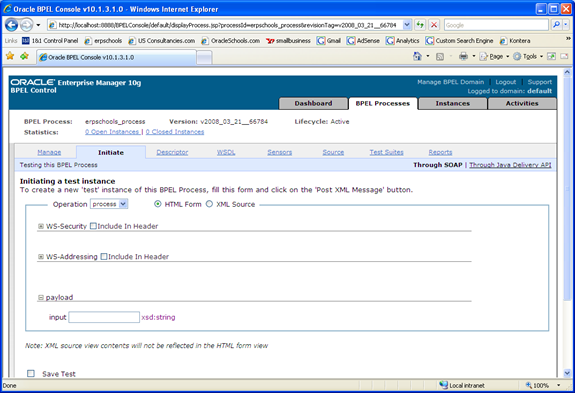
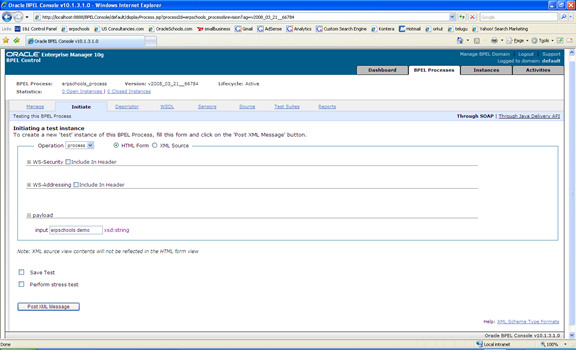
In the payload >> input
Enter some message and click “Post XML Message”
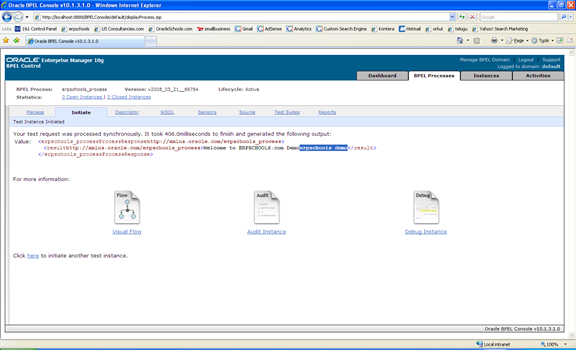
That is the xml message you expect to come.
Click visual flow button to see the how diagram how the data is flowing
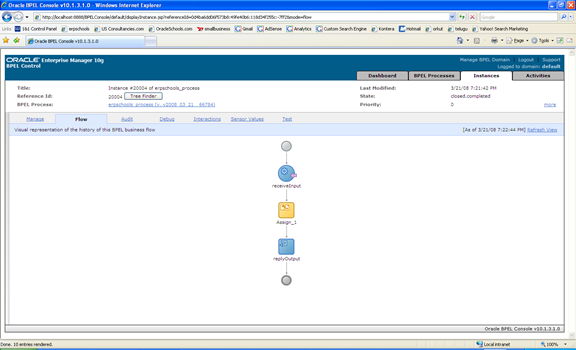
This is exactly what you see in JDeveloper when you built it.
Click Audit tab
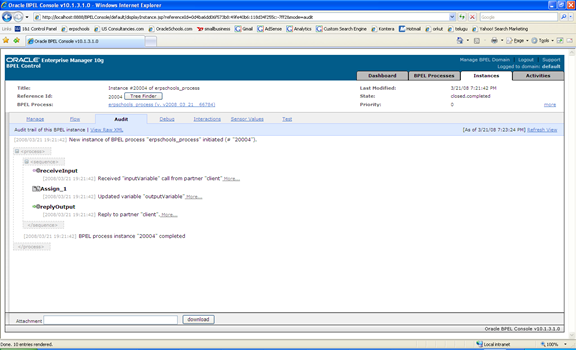
Here you can see what are all the activities that you are performing in your process.
In this process we are receiving the input and copying input to output variable and then replying the output.
If you click the “View Raw XML”
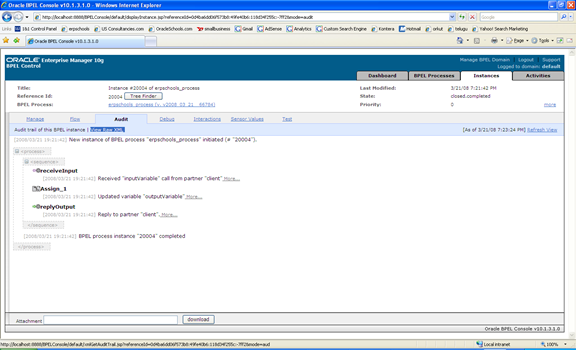
You can see the XML code in new window
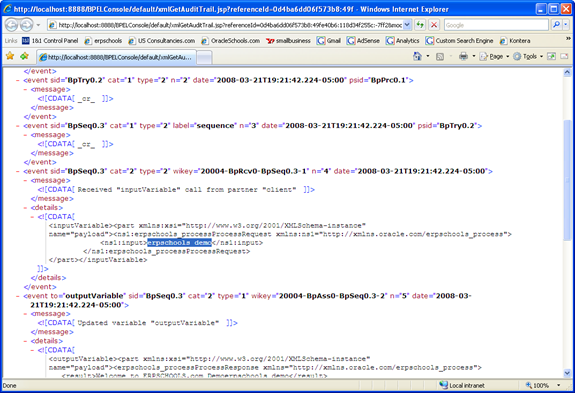
Here you can see the xml code for both input variable and also output variable
Now click on “Instances” tab on the top
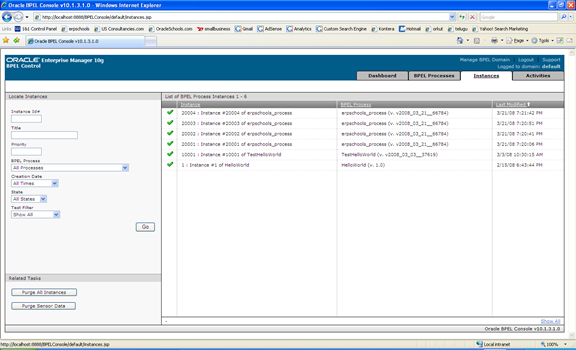
It will show all the instances that the process has gone through.
Let me explain this using an example. Suppose you have a BPEL process names “Load Sales Orders BPEL Process” to load “Sales orders” in order management. If you are importing one by one sales order through this process then you will have one separate instance for every sales order. If you get error while importing sales order#3 that particular instance will show that error.
Finally click on the tab “Activities” on the top
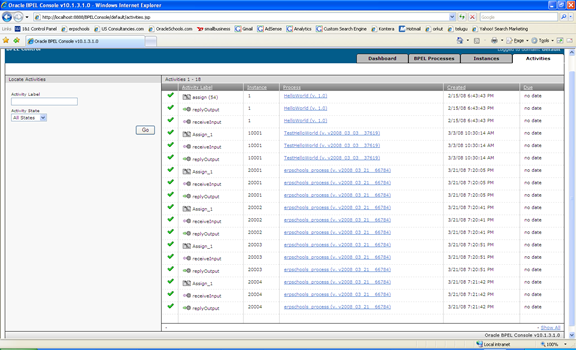
Here you can see all the activities that are performed for all the processes. Instance id is unique for each process. It is similar to “item key” in workflow.