Step1: Identify the OAF Version required to install
1.1) First step is to identify the compatible version of OAF for your e-business suite. Not every version of OAF is compatible with every version of e-business suite.
Also Note that OAF is only to be used with oracle e-business suite. You can not develop stand alone applications with OAF just the way we can do with ADF.
- Log in to Oracle Applications.
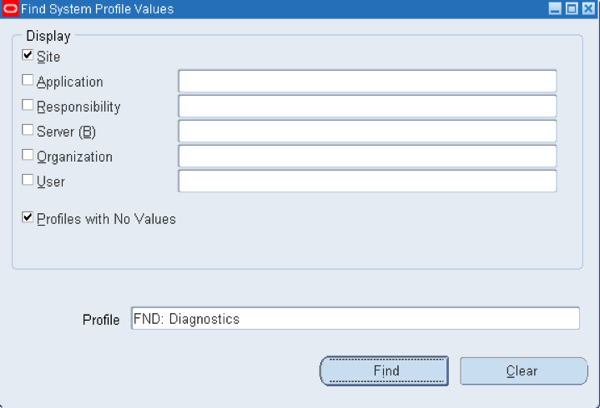
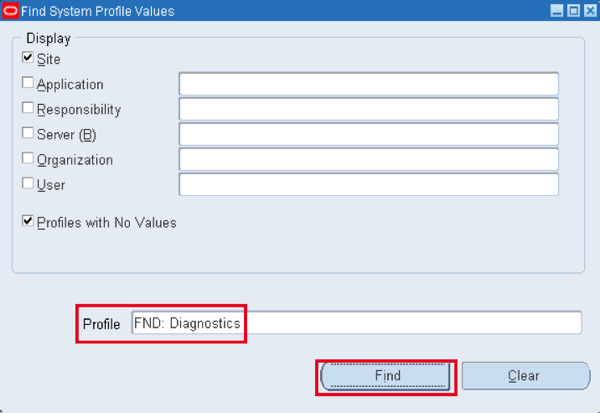
- Navigation: Application Developer responsibility -> Profiles -> Find
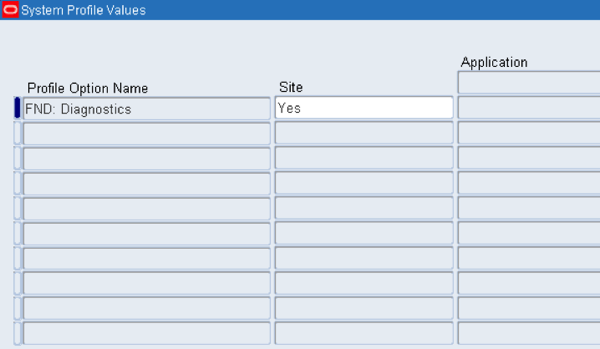
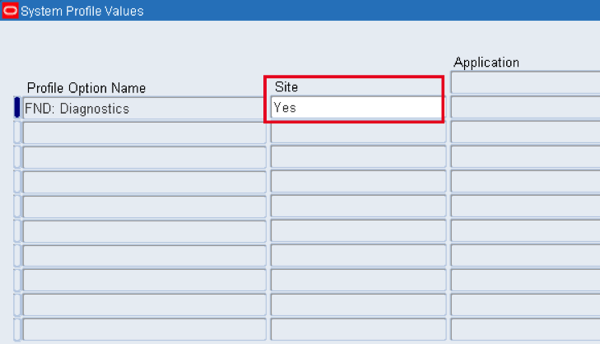
- Profile option: “FND:Diagnostics” should be set to “Yes”.
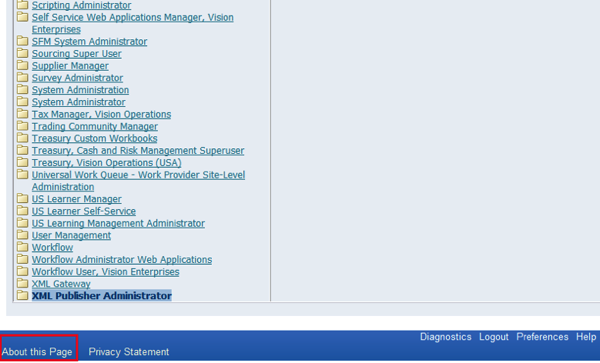
1.2) Click on “About this Page” link which can be seen at the page footer.
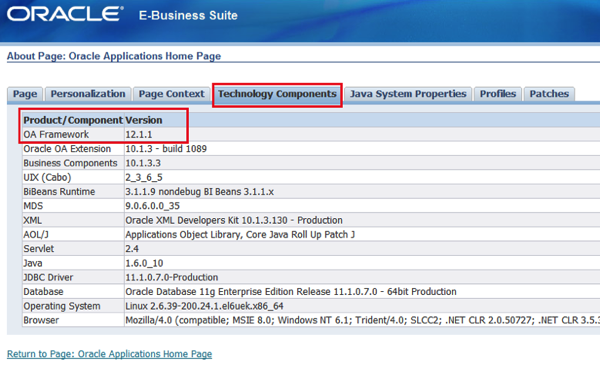
1.3) OAF version can be seen under “Technology Components” tab.
Step2: Download jDeveloper

2.1) You can download the jDeveloper from the below link. (You need to have oracle account, If you don’t have you can register for free)
http://www.oracle.com/technetwork/developer-tools/jdev/downloads/
2.2) Place the jDeveloper extract at D:/OAF/
Step3: Configure Environment
3.1) Environment Variable
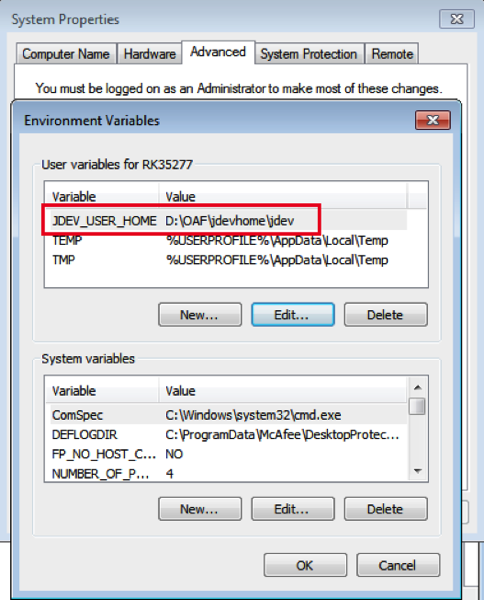
Create an Environment Variable to set the folder path where the OAF files will be created and saved. This will be useful to run multiple versions
of OAF JDeveloper.
Go to My Computer -> Properties -> Advanced tab -> Environment Variables -> Click on “New” button to create a new Environment variable.
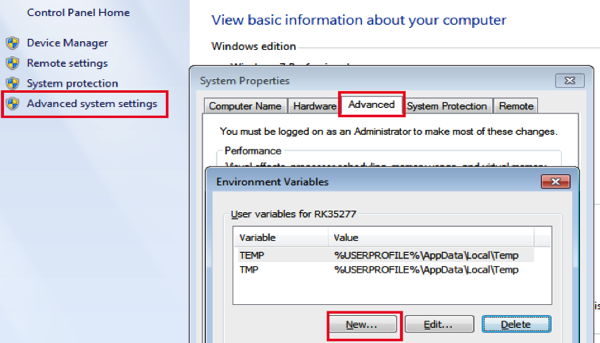
variable name: JDEV_USER_HOME
value: D:OAFjdevhomejdev
3.2) Get & link DBC file with jDeveloper
Download the .dbc file from e-busines suite server which is located at $FND_SECURE
Copy it to D:OAFjdevhomejdevdbc_filessecure
Step4: Launch JDeveloper
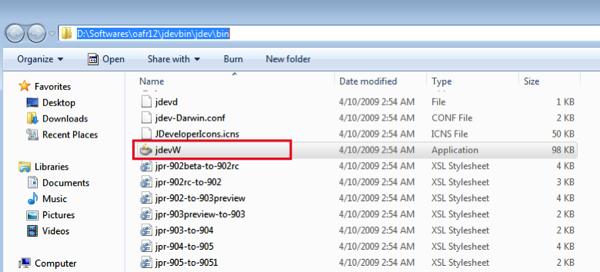
Run jdevW to launch the JDeveloper from the path D:OAFjdevbinjdevbin.
Create a desktop shortcut to launch it quickly.
